.png)
.png)

How to Set Up Cricut Mug Press for Professional Results?
mars 20, 2026
For businesses looking to enter the custom mug market, a common question arises: How to set up Cricut mug press to achieve consistent, high-quality results? Setting up a Cricut mug press correctly is crucial for efficiency, precision, and product durability. Improper setup can lead to uneven heat distribution, faded designs, or wasted materials. By understanding the key steps, temperature settings, and workflow considerations, B2B users can maximize output while minimizing errors and downtime.
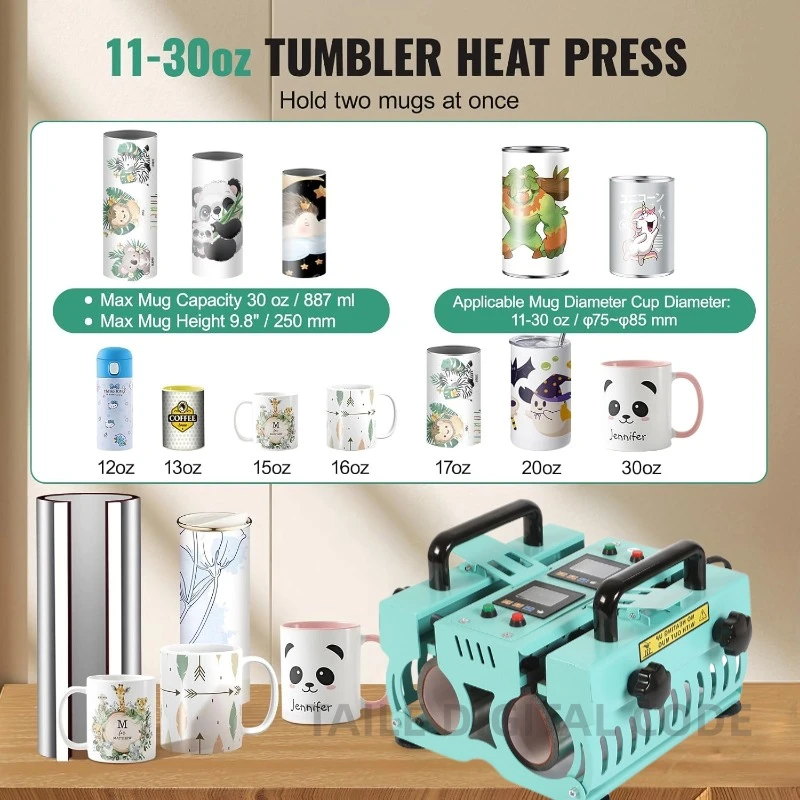
A Cricut mug press is designed to provide consistent heat and pressure for sublimation transfers on mugs. When combined with Mug Heat Press Machines and high-quality sublimation materials, businesses can produce professional-grade customized mugs for retail, promotions, and corporate gifting.
Understanding the Cricut Mug Press
Before diving into setup, it’s important to understand how the Cricut mug press works.
- Temperature Control: Maintains precise heat for transferring sublimation ink to the mug surface.
- Pressure Mechanism: Ensures even contact between the mug and heating element for clear, vibrant prints.
- Safety Features: Automatic shut-off and insulated handles reduce risks in commercial environments.
Proper comprehension of these features enables operators to set up the machine efficiently and reduce setup-related issues in production.
Step-by-Step Setup Guide
Preparing Your Workspace
A well-organized workspace ensures safety and efficiency.
- Place the Cricut mug press on a flat, heat-resistant surface.
- Ensure adequate ventilation to avoid heat buildup.
- Keep necessary materials nearby, including mugs, heat-resistant tape, and sublimation paper.
Installing the Mug
- Use Presse à chaud pour tasses to stabilize the mug during transfer if required.
- Wrap your sublimation design securely around the mug using heat-resistant tape.
- Insert the mug into the press, ensuring the heating element aligns with the printed area.
Setting Temperature and Timer
- Most Cricut mug presses have preset temperatures for standard sublimation mugs, typically around 360°F (182°C).
- Set the timer according to the mug size and type of ink or coating.
- Confirm settings on the control panel before starting the transfer.
Applying Heat and Pressure
- Close the press gently to ensure even contact without over-tightening.
- Avoid pressing for longer than recommended, as this can cause discoloration or mug damage.
- Once the timer is complete, carefully remove the mug using heat-resistant gloves.
Cooling and Handling
- Allow mugs to cool completely before handling or packaging.
- Rapid cooling can cause thermal shock, especially for ceramic or coated mugs.
- Inspect the transferred design for clarity and completeness.
For tailored guidance on Cricut mug press setup for business-scale production, contact our team here.
Common Issues and Troubleshooting
Uneven Prints
- Cause: Mug not aligned properly or insufficient pressure.
- Solution: Reposition the mug, use proper tape, and verify press alignment.
Faded Designs
- Cause: Incorrect temperature or insufficient dwell time.
- Solution: Adjust heat settings according to mug specifications and material guidelines.
Surface Damage
- Cause: Overheating or excess pressure.
- Solution: Follow recommended temperature, use Cup Heat Press Machines for higher-volume operations, and ensure insulation.
Recommended Production Parameters
| Mug Type | Temperature (°F/°C) | Time (minutes) | Pressure | Notes |
|---|---|---|---|---|
| Standard Sublimation | 360 / 182 | 4 | Medium | Align design carefully |
| Large Mugs | 370 / 188 | 5 | Medium | Use heat-resistant tape |
| Specialty Coated | 350 / 177 | 4 | Light | Test on sample mug first |
Table 1: Recommended Cricut mug press settings for different mug types
Safety and Maintenance Tips
- Regularly inspect heating elements for wear or damage.
- Clean the press surface with a soft cloth to remove ink or residue.
- Store in a dry area to prevent electrical issues.
- Train operators on safe handling procedures to reduce risk in high-volume settings.
Benefits of Integrating Cricut Mug Press in Production
- Fast turnaround for custom orders
- Consistent, high-quality print results
- Minimal material waste
- Flexibility for different mug sizes and coatings
FAQ
Q1: Can I use Cricut mug press for large commercial production?
A: Yes, with proper setup and workflow management, it is suitable for small to medium-scale B2B production, and integration with Mug Heat Press Machines can increase throughput.
Q2: What types of mugs are compatible with the press?
A: Standard sublimation-coated ceramic mugs, coated glass mugs, and some specialty coated mugs. Always test a sample first.
Q3: How do I avoid mug breakage during pressing?
A: Ensure proper alignment, moderate pressure, and gradual cooling after heat transfer.
Q4: Can I automate multiple mugs simultaneously?
A: Using commercial Heat Press Machines allows semi-automation for multiple mug production.
Q5: How do I clean the press after daily use?
A: Wipe surfaces with a soft, damp cloth after cooling; avoid abrasive cleaners that may damage the heating element.
Why Choose Taile for Heat Press Solutions
Taile is a professional supplier of heat press machinery, we provide:
- Turnkey heat press solutions for businesses and B2B clients
- Technical support for setup, operation, and maintenance
- Customizable solutions for different mug sizes and sublimation requirements
- Reliable, durable machinery for long-term production
With Taile, companies can enhance productivity, maintain consistent quality, and expand their custom mug offerings with confidence.