.png)
.png)

Guia do especialista: Quanto tempo para aquecer a sublimação da prensa para mais de 5 materiais em 2025
Outubro 31, 2025
Resumo
The process of dye-sublimation printing relies on a delicate interplay of time, temperature, and pressure to achieve vibrant, permanent imagery on various substrates. This document provides a thorough examination of the temporal variable in this equation, addressing the fundamental question of how long to heat press sublimation materials. It explores the underlying scientific principles governing the phase transition of dye from solid to gas and its subsequent infusion into polymer-coated surfaces. The analysis extends to a variety of substrates, including polyester fabrics, ceramics, metals, and specialized items, acknowledging that each material possesses unique thermal properties and requires a tailored approach. Factors influencing the optimal duration, such as the specific heat press machine, ink and paper formulations, and ambient environmental conditions, are systematically unpacked. By presenting detailed guidelines, troubleshooting common time-related errors, and advocating for methodical testing, this guide aims to equip both novices and experienced professionals with the knowledge to mitigate failures like scorching, ghosting, or faded colors, thereby ensuring consistent, high-quality results in their sublimation endeavors.
Principais conclusões
- The trinity of sublimation—time, temperature, and pressure—must be perfectly balanced for success.
- Mastering how long to heat press sublimation prevents common issues like fading, bleeding, or scorching.
- Every material, from polyester fabric to ceramic mugs, requires a unique time and temperature setting.
- Always pre-press your garment or substrate to remove moisture and wrinkles for a clean transfer.
- Keep a detailed log of your settings for different materials to replicate perfect results consistently.
- The quality of your heat press machine directly impacts the accuracy of time and temperature control.
- Test small, inexpensive items first to calibrate your settings before pressing valuable final products.
Índice
- The Scientific Heart of Sublimation: A Molecular Journey
- The Indispensable Trinity: Calibrating Time, Temperature, and Pressure
- A Practical Guide: Time and Temperature Settings for 5+ Key Materials
- Beyond the Chart: Nuances and Variables Affecting Your Press Time
- A Methodical Approach to Flawless Sublimation Every Time
- Troubleshooting Common Time-Related Sublimation Challenges
- Perguntas frequentes (FAQ)
- Conclusão
- Referências
The Scientific Heart of Sublimation: A Molecular Journey
To truly master the craft of sublimation printing, one must first appreciate the elegant science that underpins it. The term "sublimation" itself describes a specific physical transformation: the direct transition of a substance from a solid state to a gas state, completely bypassing the intermediate liquid phase. Think of dry ice "smoking" at room temperature; that is sublimation in action. In our context, the substance in question is the specialized dye embedded within your sublimation paper.
What is Happening Inside Your Heat Press?
When you place a sublimation transfer onto a polyester or polymer-coated substrate and introduce it to the heat and pressure of your heat press machine, you are initiating a remarkable molecular dance. The heat applied by the press serves two primary functions. First, it provides the energy needed for the solid dye particles on the paper to sublimate into a gas. Second, it causes the pores of the polymer fibers or the polymer coating on your substrate to open up. Think of these polymers as a dense, tightly woven net at room temperature. Heat causes this net to expand, creating openings.
The gaseous dye, now free from the paper, floats into these newly opened pores of the substrate. At the same time, the pressure exerted by your machine ensures intimate, uniform contact between the paper and the item being decorated. This pressure is not merely about holding things in place; it is about ensuring the gaseous dye travels the shortest possible distance and infuses the substrate evenly.
As the timer on your heat press counts down and then signals completion, you remove the item. As it begins to cool, the magic solidifies. The polymer pores close, trapping the dye gas inside. The dye then re-solidifies, but it is no longer just resting on the surface. It has become a permanent part of the material itself. This is why a properly sublimated image does not crack, peel, or fade easily. It is not a layer on top; it is infused within, resulting in a smooth, untouchable finish and unparalleled durability. This fundamental process is why understanding precisely how long to heat press sublimation is not just a technical detail but the very core of a successful outcome.
The Unique Role of Polyester
You may wonder why polyester is the star player in the world of sublimation. The answer lies in its molecular structure. Polyester is a synthetic polymer, and as we have discussed, it is these polymers that open their pores under heat. Natural fibers like cotton or wool lack this specific property. Their fibers are organic and cellular. When heated, they do not open up to receive the dye gas; instead, they are more likely to scorch or burn.
While you can find special coatings and treatments that allow for sublimation on cotton, the results are often less vibrant and far less permanent than on polyester. The dye has no polymer pores to become trapped within, so it sits on the surface and washes out over time. For true, permanent sublimation, a high polyester content (ideally 75% or more) or a dedicated polymer coating is non-negotiable. This scientific constraint dictates the types of products suitable for this decoration method, from performance apparel and sportswear to specially prepared ceramic mugs, metal panels, and more.
The Indispensable Trinity: Calibrating Time, Temperature, and Pressure
Success in sublimation is not the result of a single setting but the harmonious balance of three interconnected variables: time, temperature, and pressure. I refer to this as the "indispensable trinity." Getting one element wrong can compromise the entire project, leading to frustration and wasted materials. Grasping how each component influences the final product is the most significant step you can take toward becoming a proficient sublimation artist. Let's think of it like baking a cake. You can have the best ingredients (your blank and ink), but if the oven temperature is wrong or you take it out too soon, the result will be disappointing.
The Critical Dimension of Time
Time is perhaps the most actively managed variable in the process. Your heat press machine's timer is a constant companion. The duration of the press determines the extent of the ink transfer.
If the time is too short, you are effectively pulling the cake out of the oven before it is cooked. The dye will not have had sufficient opportunity to fully convert to a gas and travel into the substrate's open pores. The outcome is a faded, weak, or washed-out image that lacks the punch and vibrancy characteristic of good sublimation. You might see the colors, but they will look muted and unprofessional.
Conversely, if the time is too long, you are burning the cake. Excessive dwell time can cause several problems. The most common is "bleeding" or "ghosting," where the image appears blurry or has a faint shadow. This happens because the dye gas has so much time that it begins to spread beyond its intended boundaries within the substrate. On fabrics, especially white or light-colored ones, you risk scorching the material itself, leaving a permanent yellowish or brownish tint around your design. The ink itself can also be "overcooked," causing the colors to shift and darken undesirably. Finding that "just right" duration is the key, and this is why the question of how long to heat press sublimation is so central to the craft.
The Activating Force of Temperature
Temperature is the catalyst of the entire sublimation process. Without the correct amount of heat, nothing happens. The temperature setting on your heat press must be high enough to achieve two things simultaneously: activating the sublimation ink to turn into a gas and opening the polymer pores of your blank.
A temperature that is too low is a non-starter. The ink will not sublimate, or will do so incompletely, and the polymer pores will remain shut. The result is a very faint transfer or, in some cases, no transfer at all. The design will be left on the paper. This is a common mistake for beginners who might be timid about using high temperatures.
A temperature that is too high is just as destructive as too much time. It can instantly scorch fabrics, melt delicate coatings, or even cause hard substrates like ceramic tiles to crack from thermal shock. For the ink, excessive heat can burn it, causing a chemical alteration that shifts vibrant reds to muddy browns or bright blues to dull navy. Your heat press is not just a heater; it is a precision instrument. Verifying its accuracy with an infrared temperature gun is a professional habit that pays for itself by preventing costly errors. A press that reads 400°F but is actually running at 425°F will consistently ruin your projects until the issue is diagnosed.
The Unifying Element of Pressure
Pressure is the quiet, often overlooked member of the trinity, but its role is absolutely fundamental. Pressure ensures that the sublimation paper makes complete and even contact with the surface of the substrate. Without proper pressure, the gaseous dye has too far to travel, and the transfer can be uneven.
If the pressure is too light, you will likely see splotchy or faded areas in your design. These are spots where the paper was not held firmly against the substrate, creating a gap that the dye gas could not effectively cross. The image might look good in some places and weak in others.
If the pressure is too heavy, you can run into different problems. On soft goods like t-shirts, excessive pressure can leave a permanent, unsightly indentation from the edges of the heat platen or the paper. On hard goods like ceramic tiles or coasters, too much pressure can cause them to crack, especially when combined with high heat. It can also cause the ink to bleed out from the point of contact, resulting in fuzzy edges.
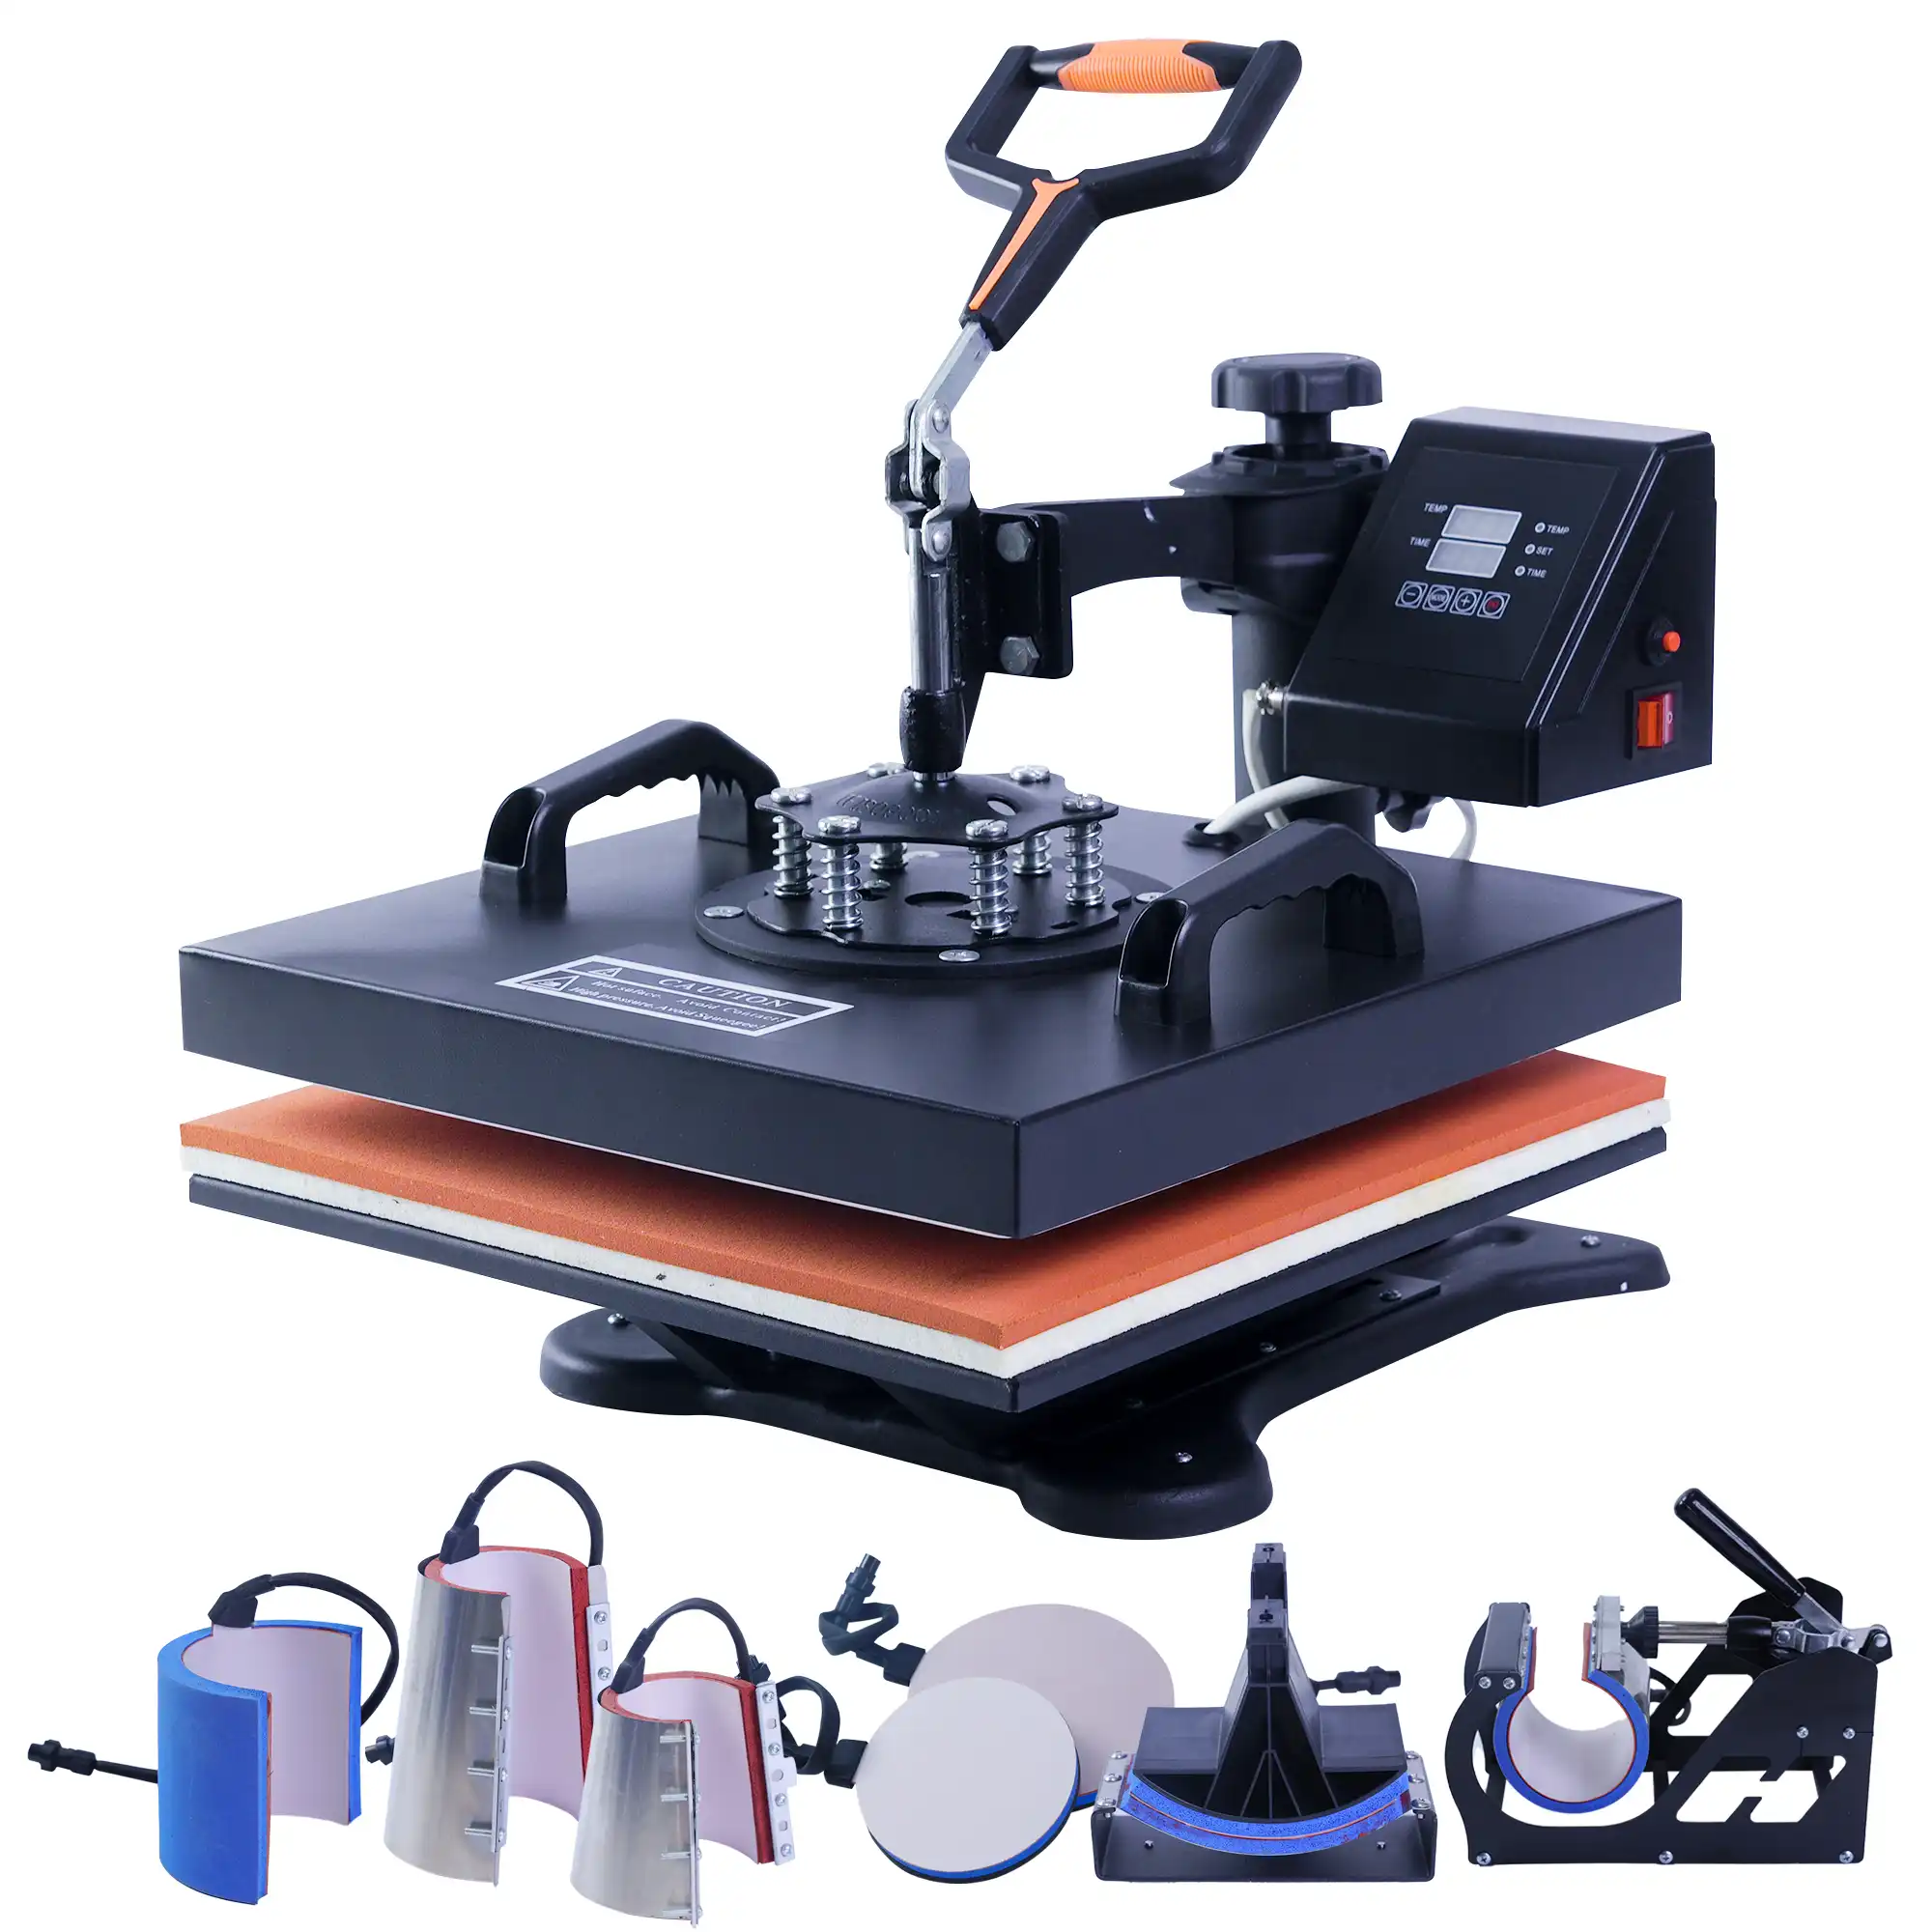
The ideal pressure is typically described as "medium." But what does that mean? For a manual press, it usually means tightening the adjustment knob until you need a firm, two-handed effort to close and lock the machine. It should not be a struggle, nor should it be effortless. Automatic presses allow for more precise numerical settings, which is a significant advantage for consistency. The type of press you use, such as a clamshell or a high-quality flat heat press machine, can also influence pressure application. A swing-away press, for instance, often provides a more even, vertical pressure compared to the hinged motion of a clamshell.
A Practical Guide: Time and Temperature Settings for 5+ Key Materials
While the principles of the sublimation trinity are universal, their specific application varies dramatically from one material to another. Each substrate has a unique composition, thickness, and heat tolerance. The following guide provides a starting point for some of the most common sublimation blanks. Think of these as a trusted map for your sublimation journey. However, always remember that your specific equipment, inks, and paper might require slight adjustments. The golden rule is to test first.
General Sublimation Time and Temperature Starting Points
| Substrate Material | Temperature Range (°F / °C) | Time Range (Seconds) | Pressão | Notes |
|---|---|---|---|---|
| 100% Polyester Fabric (T-Shirts) | 385-400°F / 195-205°C | 45-60 seconds | Medium | Pre-press for 5 seconds. Use protective paper inside and on top. |
| Ceramic Mugs | 380-400°F / 193-205°C | 180-240 seconds | Medium-Firm | Use a dedicated mug press. Time can vary greatly with convection ovens. |
| Ceramic Tiles | 400°F / 205°C | 240-420 seconds | Light-Medium | Press face down on a silicone pad to prevent cracking. |
| Aluminum Photo Panels | 385-400°F / 195-205°C | 60-90 seconds | Medium | Remember to remove the protective plastic film before pressing. |
| Hardboard (Coasters, Keychains) | 380-400°F / 193-205°C | 60-75 seconds | Medium | Pre-press the hardboard for 10-15 seconds to remove moisture and prevent warping. |
| Sublimation Hats/Caps | 330-350°F / 165-177°C | 45-60 seconds | Firm | Use a dedicated hat press with a curved platen for even contact. |
| Glass Cutting Boards/Panels | 385-400°F / 195-205°C | 240-300 seconds | Light-Medium | Press with the design facing up, through the back of the glass. |
1. Polyester Fabrics (T-shirts, Apparel, Totes)
Polyester apparel is arguably the most common substrate for sublimation. For a standard 100% white polyester t-shirt, a good starting point is 400°F (205°C) for 60 seconds with medium pressure. However, not all polyester is the same. Lighter-weight fabrics might require slightly less time (e.g., 45-50 seconds) to prevent the heat from scorching the delicate fibers. Polyester blends, such as a 50/50 cotton/poly mix, will produce a more faded, "vintage" look by design, as the ink only bonds to the polyester fibers. For these blends, you might slightly lower the temperature to 385°F (195°C) to reduce the risk of scorching the cotton content. Always remember to place a sheet of protective paper (butcher paper or Teflon) inside the shirt to prevent the ink from bleeding through to the back.
2. Ceramic Substrates (Mugs and Tiles)
Ceramics are dense and act as a significant heat sink, meaning they require much more time for the heat to penetrate fully. For an 11oz or 15oz ceramic mug in a dedicated mug press machine, a typical setting is around 400°F (205°C) for 180-240 seconds (3-4 minutes). The exact duration of how long to heat press sublimation on a mug heavily depends on your specific mug press. Some wrap-around presses are faster, while others require more time.
For flat ceramic tiles, the time can be even longer, often in the range of 6-7 minutes (360-420 seconds) at 400°F (205°C). A common professional technique is to press the tile face down onto the transfer, with a silicone heat pad underneath. This helps distribute the heat evenly and reduces the risk of the tile cracking from direct pressure from the top platen.
3. Hardboard and MDF (Coasters, Photo Panels, Keychains)
Hardboard blanks, made from medium-density fiberboard (MDF) with a polymer coating, are popular for their rigidity and excellent color reproduction. These materials contain a surprising amount of moisture. It is absolutely vital to pre-press a hardboard blank (without the transfer paper) for about 10-15 seconds to drive this moisture out. If you skip this step, the moisture will turn to steam during the actual press, which can cause bubbling in the coating and blotchy transfers. After pre-pressing, typical settings are around 385-400°F (195-205°C) for 60-75 seconds with medium pressure.
4. Metal (Aluminum Photo Panels)
Sublimating on specially coated aluminum panels produces stunning, high-definition results. These panels are thin and conduct heat very efficiently, so they generally require less time than ceramics. A common guideline is 385°F (195°C) for 60-90 seconds. The most frequent mistake with metal is forgetting to remove the thin, clear protective film that covers the sublimation surface. Pressing with this film on will melt it to your panel and your heat platen, creating a mess and ruining the product. Always double-check and peel it off before positioning your transfer.
5. Specialized Items (Hats and Caps)
Decorating headwear presents a unique challenge due to its curved surface. A standard flat press will not work effectively. You need a dedicated hat heat press machine, which features a curved lower platen (buck) and a matching upper platen. Because you are often working with a smaller, more concentrated area, and sometimes with materials that have foam fronts, the settings are often adjusted. A lower temperature, around 330-350°F (165-177°C), for 45-60 seconds is a common starting point. The firm pressure is key to ensuring the transfer conforms to the curve of the hat without any gaps. The specific settings for how long to heat press sublimation on a hat can vary based on the hat's material and construction.
Beyond the Chart: Nuances and Variables Affecting Your Press Time
The time and temperature chart is an invaluable starting point, but the path to true sublimation mastery involves understanding the subtle variables that can demand adjustments. Thinking that a chart is a universal law is a common pitfall. Instead, view it as a baseline from which you will fine-tune your process based on your unique environment and equipment. A craftsman does not just follow a recipe; they understand how the oven, the humidity in the air, and the freshness of the ingredients affect the outcome.
Your Heat Press Machine's Personality
Not all heat presses are created equal. An industrial-grade, heavy-duty swing-away press will have a thick, robust heat platen that retains and distributes heat far more evenly than a lightweight, budget-friendly clamshell model.
- Heat Platen Accuracy and Recovery: A quality heat press has minimal temperature fluctuation. When you close the press onto a cold substrate (like a ceramic mug), the platen temperature will drop. The machine's ability to quickly recover to the set temperature is its "recovery time." A machine with poor recovery may require you to add a few seconds to your press time to compensate. As mentioned earlier, using an infrared temperature gun to periodically check different spots on your platen is a wise practice. You may find that your press has "hot spots" or "cold spots," which would explain why some transfers are inconsistent.
- Pressure Calibration: The pressure reading on an automatic press is a gift of consistency. On a manual press, "medium" pressure is subjective. As you become more familiar with your machine, you will develop a feel for the right setting. A good habit is to use the "paper test": place a piece of paper at each of the four corners of your press and close it. When you try to pull the papers out, they should all have the same amount of resistance. If one pulls out easily, your pressure is uneven. This is a sign you may need to adjust your machine or that it might be time to invest in a more reliable máquina de transferência de calor.
The Influence of Sublimation Paper and Ink
The consumables you use play a significant role. Different brands of sublimation paper have varying ink release characteristics. Some "high-release" papers are designed to let go of almost all their ink quickly, potentially requiring slightly less time. Others might hold onto the ink a bit more, benefiting from a few extra seconds on the press.
Similarly, the ink formulation matters. While most sublimation inks are broadly similar, there can be differences in dye concentration and the specific temperatures at which they activate optimally. Sticking with a reputable, consistent brand for both your paper and ink helps eliminate these variables, making it easier to standardize your process. When you switch brands, it is prudent to run a few tests rather than assuming your old settings for how long to heat press sublimation will carry over perfectly.
Environmental Factors: The Invisible Variables
Your workshop's environment can have a subtle but real impact.
- Humidity: This is the most significant environmental factor. Sublimation blanks, especially fabrics and hardboard, can absorb moisture from the air. As we discussed with hardboard, this moisture turns to steam during pressing, which can interfere with the dye transfer and cause issues. On a very humid day, you might find that you need to pre-press your garments for a few seconds longer (7-10 seconds instead of 3-5) to drive out the excess moisture.
- Ambient Temperature: In a very cold workshop, your heat press will have to work harder to maintain its temperature, and your substrates will start out much colder. This can slightly increase the effective time needed for the substrate to reach the target temperature. While usually a minor factor, it can be the source of mysterious inconsistencies if everything else seems correct.
Substrate Coating and Quality
The world of sublimation blanks is vast, and quality can vary significantly between manufacturers. A cheaply made ceramic mug might have an uneven or thin polymer coating. In such a case, no amount of fiddling with time and temperature will produce a perfect result. Parts of the image may be vibrant where the coating is good, and faded where it is thin. Sticking with trusted suppliers for your blanks is a form of quality control. When trying a new supplier, it is always wise to order a small sample batch and test it thoroughly before committing to a large purchase. This initial testing will reveal if you need to adjust your standard settings for how long to heat press sublimation for that specific product line.
A Methodical Approach to Flawless Sublimation Every Time
Achieving consistent, professional-grade results in sublimation is less about secret formulas and more about adopting a disciplined, methodical workflow. Every step, from the digital file to the final cooling, is a link in a chain. A weakness in any one link can compromise the entire piece. Let's walk through the process step-by-step, highlighting the critical details that separate amateur results from professional products.
Step 1: Preparation is Paramount
Before your heat press is even turned on, the groundwork for success is laid.
- Design and Print: Create your design in a high-resolution format (300 DPI is standard). Remember to mirror your image in the print settings. This is one of the most common beginner mistakes. What you see on the screen must be a mirror image so that it reads correctly after being pressed. Print using a dedicated sublimation printer with quality sublimation inks and paper.
- Trim and Position: Carefully trim the excess paper around your design. Leaving a large border can sometimes leave a faint impression on the substrate. Securely tape your transfer to the blank using heat-resistant tape. Use just enough tape to prevent the paper from shifting—two or three small pieces are usually sufficient. Any movement of the paper during the press will cause "ghosting," so this step is vital.
Step 2: The Pressing Process
This is where the trinity of time, temperature, and pressure comes into play.
- Set Your Press: Following the guidelines for your specific material, set the correct temperature and time on your heat press machine. Allow it to fully preheat. Do not rush this; the platen must be at a stable temperature.
- Pre-Press the Substrate: As we have emphasized, this step is non-negotiable for fabrics and hardboard. Place the blank on the press and press it for 3-10 seconds, depending on the material and humidity. This removes wrinkles and moisture, creating a perfect canvas for your transfer.
- The Protective Sandwich: Create a "sandwich" for your press. The bottom layer is typically a Teflon sheet or protective paper on your lower platen. Then comes your substrate with the transfer taped to it (transfer side down). For apparel, place a sheet of protective paper inside the garment. Finally, place another sheet of protective paper on top of everything. This top sheet protects your upper platen from any ink that might "blow out" from the edges of the paper.
- Envolver a imprensa: Close the press firmly and let the timer do its work. Do not be tempted to open it early to peek. The process is a chemical reaction that requires the full, uninterrupted duration you have set. Knowing exactly how long to heat press sublimation and trusting that setting is part of the discipline.
Step 3: The Reveal and Cooling
The moments after the timer beeps are just as important as the pressing itself.
- Opening and Peeling: Open the press carefully. Be aware that the item will be extremely hot. Using heat-resistant gloves, remove the item from the press and place it on a heat-proof surface. The next decision is whether to peel the transfer paper off immediately (hot peel) or let it cool first (cold peel). For most hard substrates like ceramics and metal, a hot peel is recommended. Removing the paper quickly prevents the still-gaseous ink from continuing to sublimate and potentially blurring the image as it cools. For some fabrics, a cold peel can sometimes produce a slightly sharper result, but this varies. Your paper manufacturer will often provide a recommendation. The key is to be consistent. Peel the paper back in one smooth, fluid motion.
- Cooling: Allow the item to cool completely. The colors may appear slightly muted or different while the item is still hot. They will reach their true, final vibrancy once the item has returned to room temperature. For items like ceramic tiles or glass, avoid placing them on a very cold surface (like a stone countertop) as the rapid temperature change could cause them to crack.
By following this meticulous process every time, you transform sublimation from a game of chance into a reliable production method.
Troubleshooting Common Time-Related Sublimation Challenges
Even with careful preparation, you will occasionally encounter a less-than-perfect result. Learning to diagnose these issues is what elevates your skill. Most problems can be traced back to an imbalance in the time, temperature, or pressure trinity. Here is a table to help you troubleshoot issues where time is often the primary culprit.
Sublimation Troubleshooting Guide
| Problem | Visual Cue | Likely Time-Related Cause | Other Potential Causes | Solution |
|---|---|---|---|---|
| Faded or Muted Image | Colors lack vibrancy and "pop." | Time too short. The ink did not have enough time to fully sublimate and transfer. | Temperature too low; pressure too light; low-quality or old ink/paper; low polyester count in fabric. | Increase press time in 5-10 second increments. Verify temperature with an IR gun. |
| Image Bleeding/Blurry Edges | The edges of the design are fuzzy and not crisp. | Time too long. The gaseous ink spread beyond its intended area. | Temperature too high; pressure too heavy. | Decrease press time in 5-10 second increments. Reduce temperature slightly. |
| Ghosting | A faint, shadowy double image is visible next to the main design. | Time too long (can contribute), but primarily paper shifting. | Paper was not taped securely; opening the press too quickly or clumsily caused the paper to shift. | Use heat-resistant tape to secure the transfer. Open the press smoothly. A vacuum press can eliminate this issue. |
| Scorching/Yellowing | A yellowish or brownish discoloration appears on the substrate, especially on white fabrics. | Time too long. The material itself has started to burn. | Temperature too high. | Decrease press time significantly. Lower the temperature. Use high-quality, thick protective paper. |
| Uneven or Splotchy Transfer | Some areas are vibrant while others are faded. | Can be caused by uneven timing if using a manual swing press, but less common. | Uneven pressure is the most likely cause. Uneven heat distribution (cold spots) in the platen. | Perform the "paper test" to check pressure. Verify platen temperature. Ensure the substrate is perfectly flat. |
Let's explore these issues with a bit more depth. Imagine you press a t-shirt for the recommended 60 seconds, but it comes out looking weak. Your first instinct should be to question the trinity. Is my temperature accurate? Is my pressure firm enough? If you are confident in those two, then the logical next step is to increase the time. Press your next test shirt for 70 seconds. If it improves but is still not perfect, try 75. This iterative testing is how you dial in the perfect settings for your specific setup.
Conversely, if your design comes out with blurry edges, you have overcooked it. The gaseous dye had too much time and energy, and it started to migrate. Your first move should be to reduce the time. If the recommendation was 60 seconds, try 50. Reducing the time is often the most effective way to combat bleeding and scorching. An understanding of how long to heat press sublimation is not just about knowing the right number; it is about knowing which direction to adjust when things go wrong.
Perguntas frequentes (FAQ)
1. Can I use a regular home iron for sublimation? No, a standard home iron cannot be used for sublimation. Irons do not reach the high, consistent temperatures required (typically 385-400°F or 195-205°C), nor can they provide the firm, even pressure needed for the dye to transfer properly from the paper into the substrate. You will only get a faint, blotchy, and non-permanent stain. A proper heat press machine is necessary.
2. Why did my image come out mirrored on the shirt? This happens when you forget to mirror your design in the software or printer settings before printing. The heat press transfers the image exactly as it is printed on the paper. To have the final design read correctly, the printed transfer must be a mirror image. Always double-check your print preview to ensure the design is flipped horizontally.
3. How long do I need to wait between presses? You should allow your heat press to fully recover to its set temperature between presses. A high-quality press might recover in 30-60 seconds, while a less powerful model may take a few minutes. Most digital presses have an indicator light or temperature display that shows when they are ready. Pressing before the machine has recovered can lead to under-processed, faded results.
4. What is "blowout" and how do I prevent it? "Blowout" refers to the faint haze of ink that can sometimes appear around the edges of your transfer paper during pressing. It happens when ink gas escapes from the sides. To prevent this, always use a sheet of protective paper (like untreated butcher paper) that is larger than your sublimation paper. This "sandwich" technique catches any escaping ink gas, protecting both your garment and your heat platen.
5. Does the brand of sublimation paper really affect the pressing time? Yes, it can. Different papers have different thicknesses and coating formulations, which affect how quickly they release the sublimation dye. A "high-release" paper might achieve a full transfer in 50 seconds, while a standard paper might need 60 seconds under the same conditions. When you switch paper brands, it is always a good idea to perform a test press to see if you need to adjust your standard time.
6. How long to heat press sublimation on dark fabrics? True sublimation does not work on dark fabrics. The sublimation process infuses translucent dye into the fibers. On a dark or black shirt, the dye would be invisible, much like using a watercolor paint on black construction paper. For decorating dark garments, you need to use other methods like heat transfer vinyl (HTV), screen printing with opaque inks, or direct-to-film (DTF) transfers.
7. Can I sublimate the same item twice? No, you cannot. Once the polymer fibers have been infused with dye and cooled, the process is permanent. Attempting to sublimate a second design on top will result in a blurry, overlapping mess and will likely overheat and damage the first design. The item must be decorated correctly in a single press.
Conclusão
The journey to mastering sublimation is one of precision, patience, and scientific understanding. The question of how long to heat press sublimation is not a simple one with a single answer; it is a dynamic variable dependent on the harmonious interplay of time, temperature, and pressure, tailored to the unique demands of each substrate. We have explored the molecular dance that occurs within the heat press, turning solid dye into a permanent, vibrant part of the material. We have provided concrete starting points for a range of popular materials, from polyester apparel to ceramic mugs and specialized hats, while also emphasizing the critical nuances that charts alone cannot capture—the personality of your heat press, the characteristics of your consumables, and even the humidity in your workshop.
By embracing a methodical approach, from meticulous preparation to disciplined pressing and diagnostic troubleshooting, you move beyond guesswork and into the realm of reliable, repeatable craftsmanship. The frustration of faded, burnt, or blurry results can be replaced by the satisfaction of producing consistently brilliant, professional-quality products. Remember that every failed print is not a waste but a data point, an opportunity to learn and refine your process. Keep a log, test with intention, and trust the process. In doing so, you will find that the heat press is not just a machine, but a powerful tool for bringing your creative visions to life with permanence and vibrancy.
Referências
Angerer, S. (2024, June 20). A printer's guide for heat presses. FESPA. Retrieved from https://www.fespa.com/en/news-media/a-printer-s-guide-for-heat-presses
Heat Press Nation. (n.d.). Heat press 101. Retrieved January 15, 2025, from
Heat Transfer Warehouse. (n.d.). Heat press buying guide: How to choose the right heat press machine. Retrieved January 15, 2025, from https://www.heattransferwarehouse.com/heat-press-buying-guide-how-to-choose-the-right-heat-press-machine/
ScreenPrinting.com. (n.d.). The ultimate guide to heat transfer press: Techniques, tips, and troubleshooting. Retrieved January 15, 2025, from
Stahls'. (n.d.). The best heat press buying guide. Retrieved January 15, 2025, from